MakeyMakey 是一个在 Arduino 的基础上设计的电路板,通过物体的导电性,可将各种能导电的物体变成键盘。它的原理十分简单,但能玩出很多花样。
对于有 Arduino 的人来说,完全可以自制 MakeyMakey。但是,网上的许多方法都需要把 Arduino 模拟成 USB 键盘。这样的话就增加了复杂程度。而直接使用串口向电脑发送数据,同时用串口转键盘的软件,制作难度会小很多(几只电阻,若干根屏蔽线即可),另外还可以实现 MIDI 输出等更多功能。
制作方法
1. 直接按照这篇文章(http://www.geek-workshop.com/thread-1192-1-1.html)连接电路,USB 部分无需连接。
2. 将下面程序下载进 Arduino.
//串口版 MakeyMakey
//修改自: http://www.geek-workshop.com/thread-1192-1-1.html
int InData1 = 0, InData2 = 0, InData3 = 0, InData4 = 0, InData5 = 0, InData0 = 0;  //触摸输入值暂存
int TouchSensitivity = 80; //触摸灵敏度。0~1023,越大越不灵敏
void setup()
{
  Serial.begin(9600);
}

void loop()
{
  //读取所有引脚电压值,并且由于上拉电阻原因,
  //默认所有引脚为最高电平1023,通过触摸拉低引脚电平。
  //所以数值由1024-analogRead(A0);
  InData0 = 1024 - analogRead(A0);
  InData1 = 1024 - analogRead(A1);
  InData2 = 1024 - analogRead(A2);
  InData3 = 1024 - analogRead(A3);
  InData4 = 1024 - analogRead(A4);
  InData5 = 1024 - analogRead(A5);
  //按照各种可能触发键盘事件
  if(InData0 >= TouchSensitivity)
  {
    Serial.write('a'); //发送字符,支持 ASCII 码
  }
  if(InData1 >= TouchSensitivity)
  {
    Serial.write('s');
  }
  if(InData2 >= TouchSensitivity)
  {
    Serial.write('d');
  }
  if(InData3 >= TouchSensitivity)
  {
    Serial.write('w');
  }
  if(InData4 >= TouchSensitivity)
  {
    Serial.write(' ');
  }
  if(InData5 >= TouchSensitivity)
  {
    Serial.write(13);  //Enter
  }
  delay(100);   //可根据实际情况增加或减少
}
3. 下载串口转键盘软件,选择正确的串口和波特率,单击“启动”即可。
下载地址:http://www.hi-scan.com/ArticleShow.asp?ArtID=424
备用地址:https://skydrive.live.com/redir?resid=1ACCB9BC45EF90D0!151&authkey=!AABmQGEXqN7QnH0
4. 打开软件、游戏等,开始使用。
不过,这种方法有一个缺点:电脑端软件只支持 ASCII 码,而方向键不在 ASCII 码的范围内。当然,如果懂编程的话,完全可以自己编写程序实现该功能。
MIDI 版 MakeyMakey
使串口发送 MIDI 信号,连接电脑或音源,可以直接演奏音乐。只须将换为下面的即可。
//MakeyMakey MIDI 版本
//参考了以下两个程序:
//http://www.instructables.com/id/Arduino-Xylophone/
//http://www.geek-workshop.com/thread-1192-1-1.html
//2013.6.1

byte PadNote[6] =
    {60,61,62,63,64,65};          //定义音符
int MaxPlayTime[6] =
    {90,90,90,90,90,90};          //最长播放时间
int Hitavg = 127;                 //音量,127最大
int TouchSensitivity = 80;        //灵敏度,越大越不灵敏
int Midichannel = 9;              //MIDI通道,9为打击乐器

boolean activePad[6] =
    {0,0,0,0,0,0};                //记录对应音符是否正在播放
int pinPlayTime[6] =
    {0,0,0,0,0,0};                //记录对应音符播放时间
int inData = 0;

void setup()
{
    Serial.begin(9600);           //串口波特率,根据 MIDI 设备调整
}

void loop()
{

    for(int pin = 0; pin < 6; pin++)
    {
        inData = 1024 - analogRead(pin);
        if(inData >= TouchSensitivity)
        {
            if((activePad[pin] == false))
            {
                MIDI_TX(144,PadNote[pin],Hitavg); //发送音符
                pinPlayTime[pin] = 0;
                activePad[pin] = true;
            }
            else
            {
                pinPlayTime[pin] = pinPlayTime[pin] + 1;
            }
        }
        else if((activePad[pin] == true))
        {
            pinPlayTime[pin] = pinPlayTime[pin] + 1;
            if(pinPlayTime[pin] > MaxPlayTime[pin])
            {
                activePad[pin] = false;
                MIDI_TX(144,PadNote[pin],0);//停止播放该音符
            }
        }
        delay(10);  //根据情况增加或减少
    }
}

//发送 MIDI 信号
void MIDI_TX(byte MESSAGE, byte PITCH, byte VELOCITY)
{
    int status1;
    status1 = MESSAGE + Midichannel;
    Serial.write(status1);
    Serial.write(PITCH);
    Serial.write(VELOCITY);
}
同时推荐一个小工具,可以直接将串口信号转为 MIDI 信号,在电脑上弹奏时更加方便。
http://projectgus.github.io/hairless-midiserial/
我的 MakeyMakey
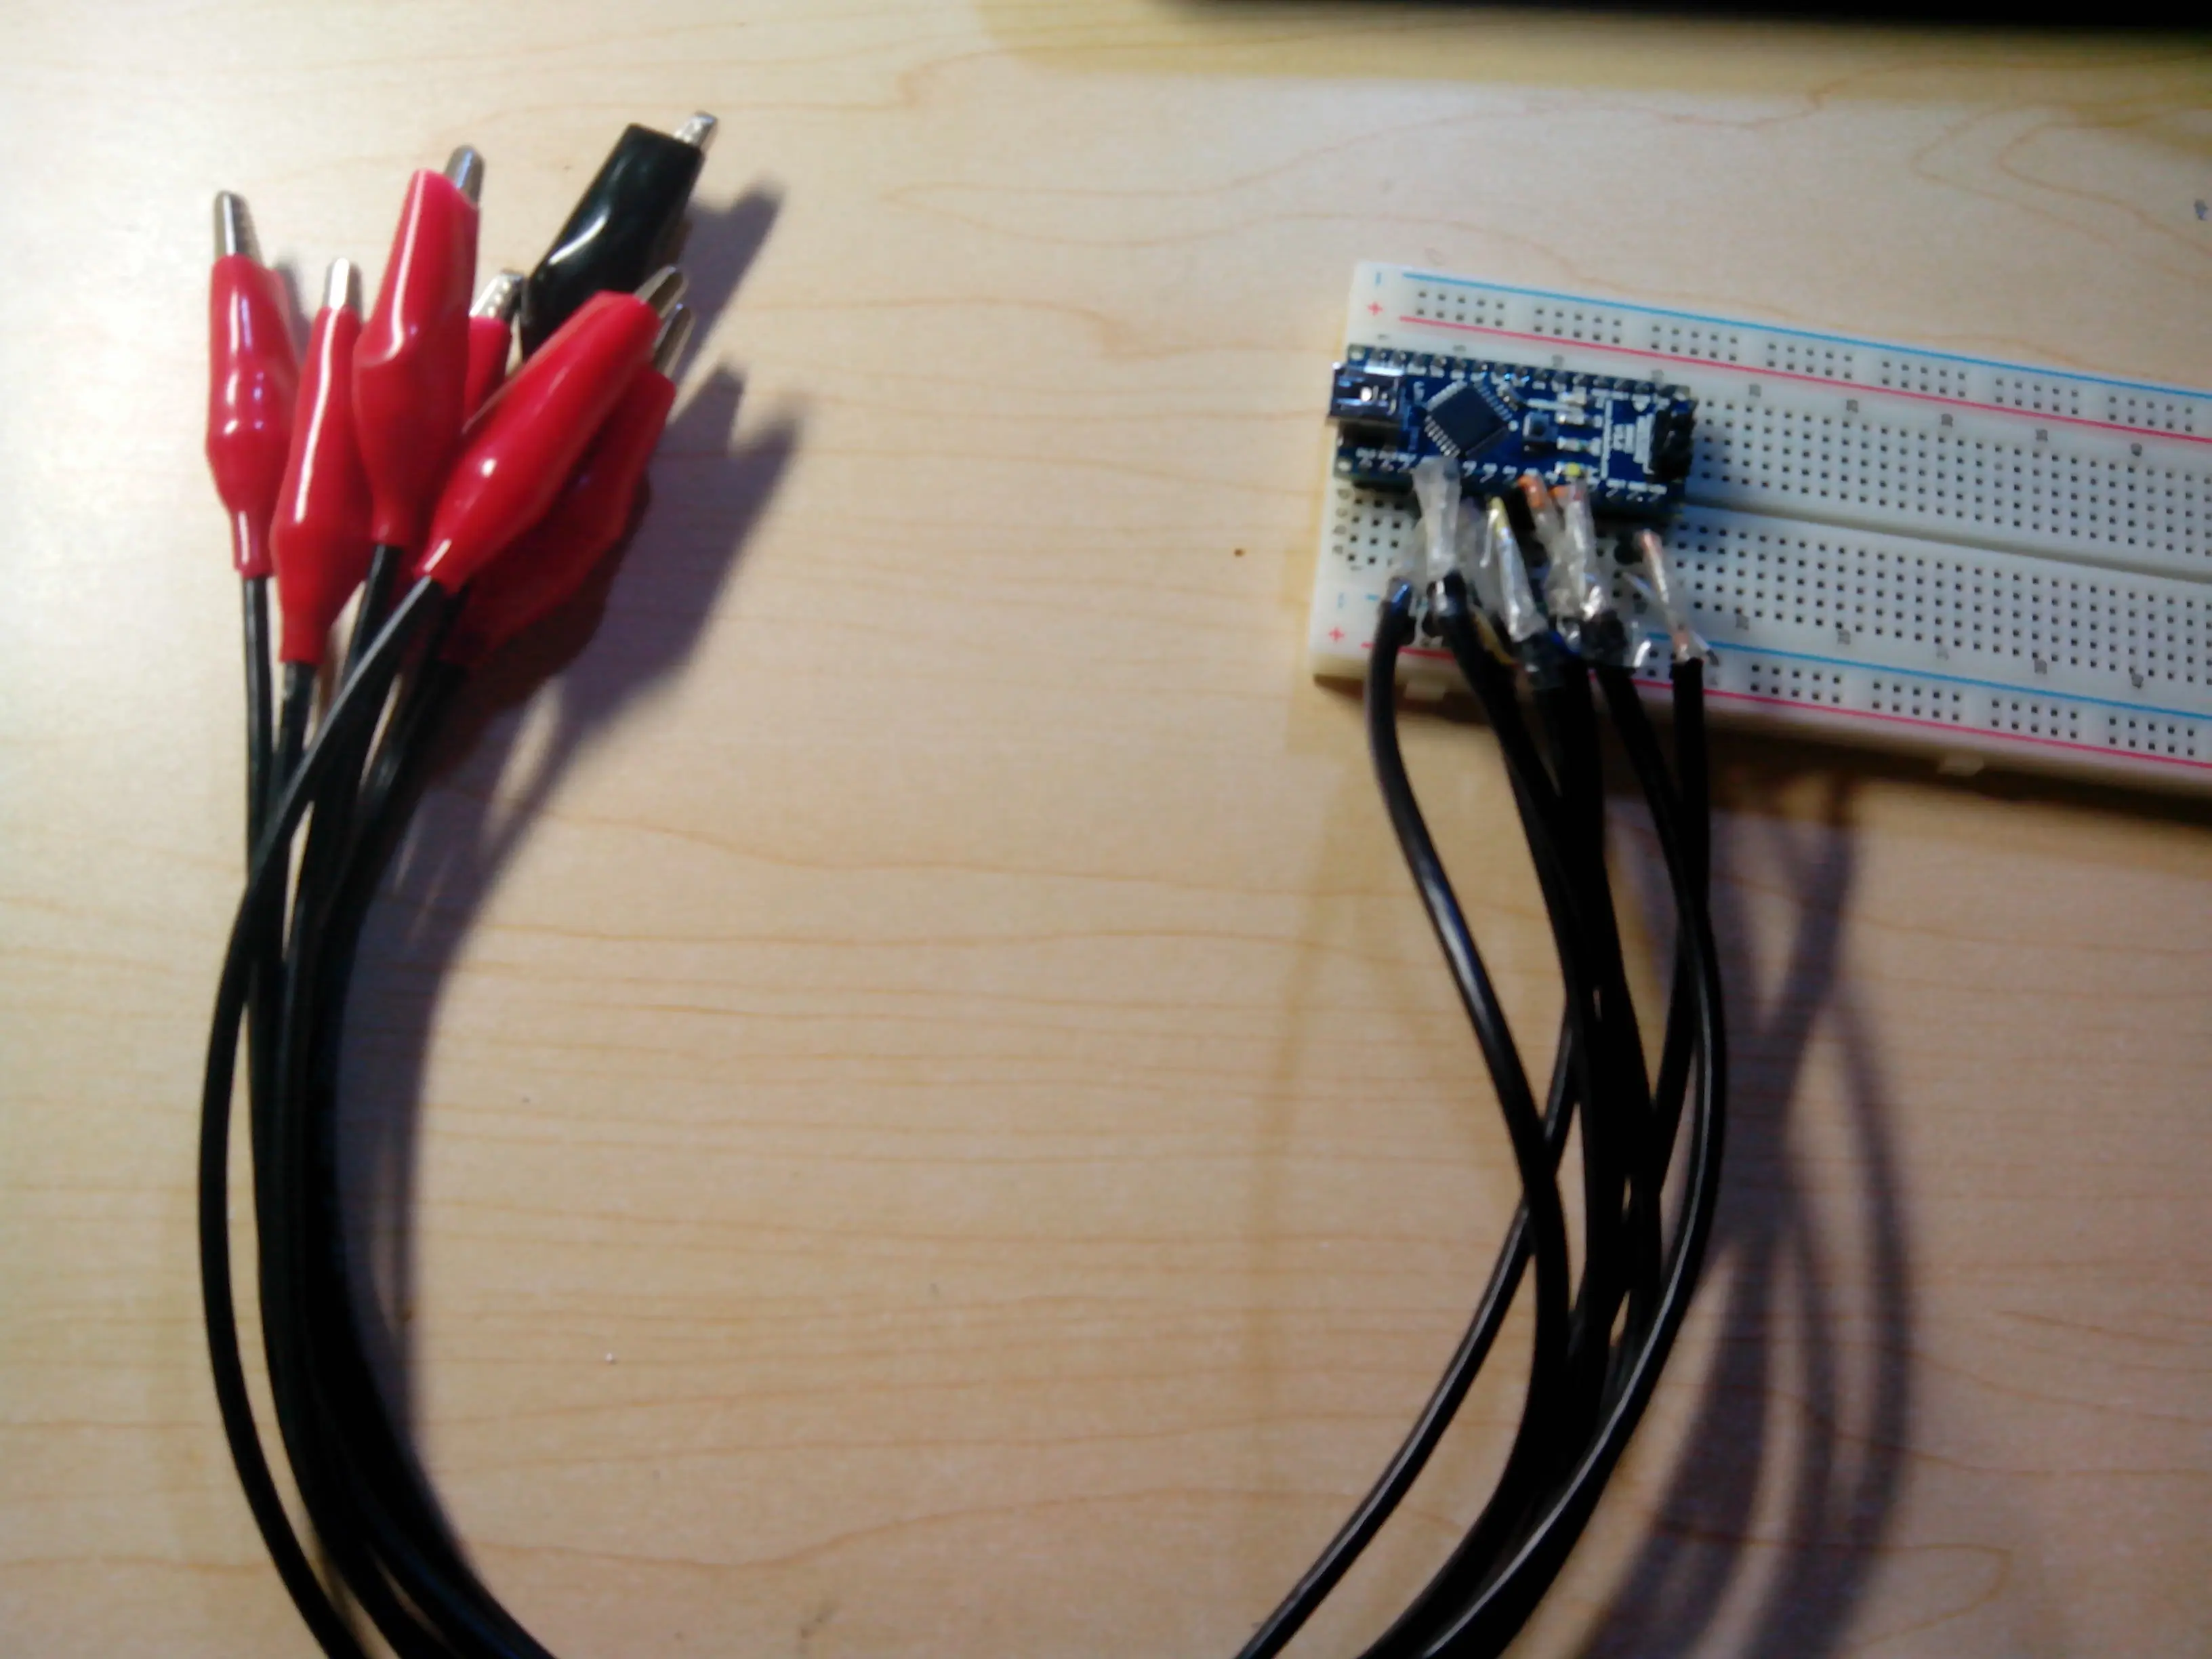


希望能得到帮助
我的邮箱:i[AT]blanboom.org 有问题给我发邮件
烧录引导程序错误…
Arduino:1.6.1 (Windows 7), 板:”Arduino Mini, ATmega328″
Sketch uses 2,240 bytes (7%) of program storage space. Maximum is 28,672 bytes.
全局变量使用了198字节,(9%)的动态内存,余留1,850字节局部变量。最大为2,048字节。
avrdude: stk500_recv(): programmer is not responding
avrdude: stk500_getsync() attempt 1 of 10: not in sync: resp=0xe9
avrdude: stk500_recv(): programmer is not responding
avrdude: stk500_getsync() attempt 2 of 10: not in sync: resp=0xe9
avrdude: stk500_recv(): programmer is not responding
avrdude: stk500_getsync() attempt 3 of 10: not in sync: resp=0xe9
avrdude: stk500_recv(): programmer is not responding
avrdude: stk500_getsync() attempt 4 of 10: not in sync: resp=0xe9
avrdude: stk500_recv(): programmer is not responding
avrdude: stk500_getsync() attempt 5 of 10: not in sync: resp=0xe9
avrdude: stk500_recv(): programmer is not responding
avrdude: stk500_getsync() attempt 6 of 10: not in sync: resp=0xe9
avrdude: stk500_recv(): programmer is not responding
avrdude: stk500_getsync() attempt 7 of 10: not in sync: resp=0xe9
avrdude: stk500_recv(): programmer is not responding
avrdude: stk500_getsync() attempt 8 of 10: not in sync: resp=0xe9
avrdude: stk500_recv(): programmer is not responding
avrdude: stk500_getsync() attempt 9 of 10: not in sync: resp=0xe9
avrdude: stk500_recv(): programmer is not responding
avrdude: stk500_getsync() attempt 10 of 10: not in sync: resp=0xe9
一般是硬件有问题,或者选错了串口。
你好,请问上传midi信号的代码程序时,显示“Arduino:1.6.3 (Windows 7), 板:”Arduino Uno”
Sketch uses 2,230 bytes (6%) of program storage space. Maximum is 32,256 bytes.
全局变量使用了228字节,(11%)的动态内存,余留1,820字节局部变量。最大为2,048字节。
avrdude: ser_open(): can’t open device “\.COM3”: 系统找不到指定的文件。
上传出错。”这是什么问题呢?
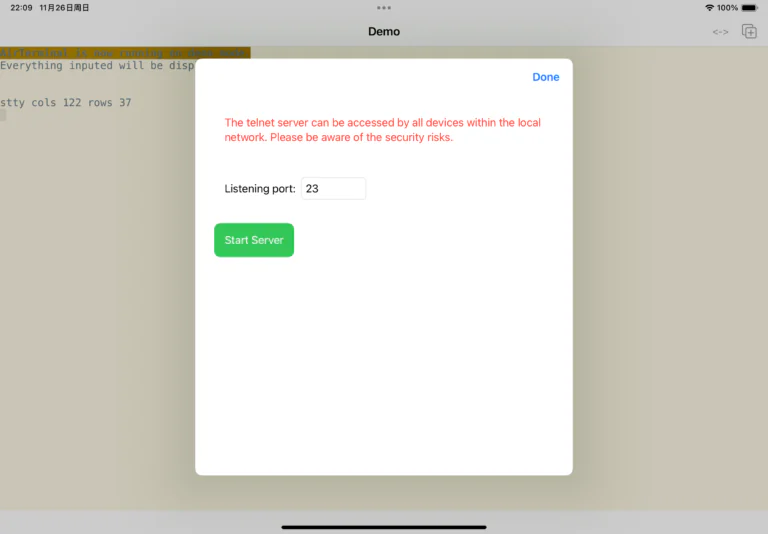
另外,我也尝试使用将串口信号转换为midi信号的小工具,(已经上传好了串口版makeymakey程序,做了6个按键),显示如附图所示(这样算是转换成功了吗?),但是打开如everyone piano之类的midi软件时,输入设备中没有任何现实,这该怎么解决呢?
迫切地希望得到解答,非常感谢您!
错打两个字,倒数第三行中,是“没有任何显示”。